Wednesday, May 27, 2015

Just a Note Card - Craft Dies by Sue Wilson

Hello Friends,
I have a fun card to share with you created with Sue Wilson's new collection of dies. These dies are just beautiful and I love to design cards with them.


Instructions:

1. I started by creating the card base from white cardstock using the largest die from Noble Dies - Ornate Pierced Design
2. I die cut and embossed all the layers using the same die set and designer cardstock. I colored the embossed area and edges with distress ink mini pads. The layers were adhered to card base using foam squares.
3. For the flowers and fern I used  Finishing Touches - Classic Foldover FlowersFinishing Touches - Maidenhair Fern, and Finishing Touches - Dandelion Clocks.  I used designer cardstock to die cut the flowers and fern and then colored them with distress inks. 
To watch a video with Sue on how to create these pretty flowers go HERE.
4. The sentiment "Just a Note" was die cut with Expressions Dies - Just a Note and adhered to card with glue. 


Supplies:

You can also find Sue Wilson's Dies in the UK by going HERE

Other Supplies: Neenah Papers - Solar White, Prima Marketing - Art Journal Pad, Ranger Distress Ink Mini Pads - Brushed Corduroy, Spiced Marmalade, Peeled Paint, Victorian Velvet, Foam Squares.


Thanks for visiting! Hugs!
Marisa


Tuesday, May 19, 2015

Heartfelt Creations - Cascading Fuchsia Collection

Hello Friends,
I have another card to share with you created with the beautiful Cascading Fuchsia Collection from Heartfelt CreationsI love making the fuchsia flowers, they are really easy to make with the stamps and coordinating dies.


Have a Wonderful Day Card

Products Used:


Other Products:

Neenah Papers Solar White Cardstock, Burgundy Cardstock, Memento Tuxedo Black Ink, Ranger Distress Ink Mini Pads ( Seedless Preserves, Spun Sugar, Peeled Paint, Fired Brick), Spellbinders Grand Calibur, Oval Pearls, Floral Wire, Pink Silk Ribbon, Foam Squares, Water Brush.

Project Instructions:

Create a 6” x 6” card base using burgundy cardstock.  Cover front of card with Cascading Fuchsia Paper Collection. Cut 2 more layers with paper collection measuring  5 ½” x 5 ½”  and 5” x 5”, mat with burgundy cardstock and adhere to card using foam squares.
Stamp Fuchsia Spray onto white cardstock using black ink, color with distress ink pads and water brush. Cut image to 4 ½” x 4 ½”, distress edges and mat with paper collection and burgundy cardstock. Adhere to card using foam squares.
Die cut Decorative Oval with white cardstock, cut in half and glue under top layer.
Stamp Open Leaf and Classic Leaf onto white cardstock using green ink pad, color with green distress ink pad, shape with shaping kit and adhere to card as shown.
Stamp Cascading Fuchsia onto white cardstock using Berrylicious chalk ink pad. Die cut with coordinating Cascading Fuchsia Die. Color flowers with distress inks and then shape with Deluxe Flower Shaping Kit. Roll stamen adding some glue. Attach floral wire to the base of stamen, layer petals using  wire to hold them together  and then finish with an oval pearl. Attach flowers to leaves with hot glue.
Make a bow using pink silk ribbon and glue under flower.  Embellish center of flowers with pink pearls.

Be sure to visit Heartfelt Creations Blog for more Inspiration.

Thanks for visiting! Hugs!

Marisa


Tuesday, May 12, 2015

Heartfelt Creations - Cascading Fuchsia Card

Hello Friends,
Heartfelt Creations invites you to join us for a stroll through a quaint cottage garden where your cares will melt away and your creative energy will be refreshed and renewed.  The Cascading Fuchsia Collection of stamps, dies and papers is bursting with lush greenery and exquisite beauty.  Here, you'll find pendant shaped clusters of show-stopping pink, purple and magenta blossoms that are also called "Angel's Earrings."  Graceful vines, lacy patterns, flitting butterflies, shady bowers and delicate latticework come together and form this restful haven.  It's a celebration of the simple things that fill this moment in time with wonder and spontaneous joy.  Cascading Fuchsia: It's a flawless garden of peerless delight and a creative sanctuary for the artist in you.

I had so much fun making this card. The Fuchsia flowers are so easy to make. You can watch a video on how to create the Cascading Fuchsia flowers HERE.


Celebrating You Card

Products Used:


Other Products:

Neenah Papers Solar White Cardstock, Burgundy Cardstock, Ranger Distress Ink Mini Pads ( Seedless Preserves, Spun Sugar, Peeled Paint),  Spellbinders Grand Calibur and Heirloom Legacy Die, Oval Pearls, Floral Wire, Foam Squares.

Project Instructions:

Create a 5” x 7” card base with burgundy cardstock, crease and fold front of the card at 2 ½” to make an easel card. Cut a  5” x 7” piece of burgundy cardstock and adhere to lower half of the front card base.  Die cut oval using  Heirloom Legacy oval die.  Cover card front and inside of card with Cascading Fuchsia Paper Collection. Die cut Heirloom Legacy frame with white cardstock and adhere to card front.
Stamp Open Leaf and Classic Leaf onto white cardstock using green ink pad, color with green distress ink pad, shape with shaping kit and adhere to oval frame as shown.
Stamp Cascading Fuchsia stamps onto white cardstock using Berrylicious chalk ink pad. Die cut with coordinating Cascading Fuchsia Die. Color flowers with distress inks and then shape with Deluxe Flower Shaping Kit. Roll stamen adding some glue. Attach floral wire to the base of stamen, layer petals  using  wire to hold them together  and then finish with an oval pearl. Attach flowers to leaves with hot glue.
Cut sentiment from paper collection to 6” x 2”, distress edges and adhere to inside of card using foam squares. Add flower and leaves to right corner.
Embellish card with pink pearls.


Be sure to visit Heartfelt Creations Blog for more Inspiration.


Thanks for visiting! Hugs!

Marisa


Wednesday, May 6, 2015

JustRite Papercraft May Release - Friends Make Life Blossom Basket

Hello Friends,
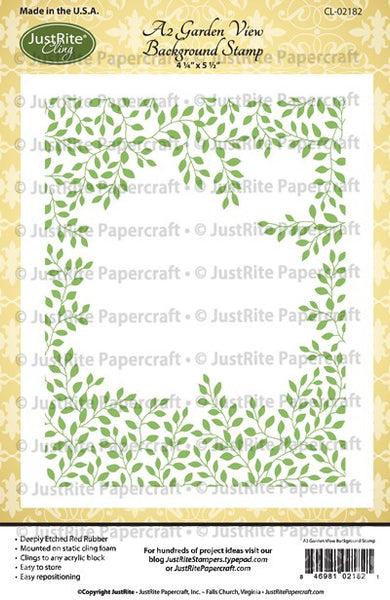
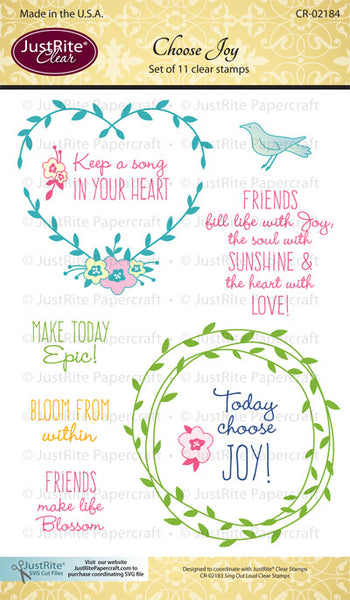
Today I have 2 projects to share with you using beautiful new stamp sets from JustRite Papercraft called Choose Joy Clear Stamps and A2 Garden View Background Stamp.
I also used Spellbinders new dies that I designed for them to make the basket and card.


     Choose Joy Clear Stamps     A2 Garden View Cling Background Stamp


Instructions for Garden Party Basket:

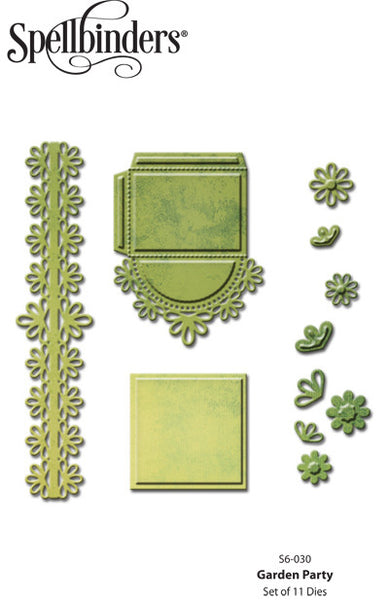
This Garden Party basket is really easy to make, all the work is in the dies. It has all the pieces you need including the flowers and leaves. I designed these dies for Spellbinders more than a year ago and it is so exciting to finally see them in stores. Follow the instructions below and have fun!

Approximate Size:
Box Bottom: 2⅝ x 2⅝”
Box Side: 3 x 4⅜”
Handle: 7¼ x 1⅜”

1. Using Spellbinders Garden Party set, die cut 4 box sides, 2 box bottom pieces and one handle from pattern cardstock. I used double-sided pattern paper for the basket.


Garden Party Dies  


2. Glue sides together by adhering tape or glue on each tab. Color edges with brown ink. 


3. Fold flaps down at the crease lines. Then glue box bottom to tabs to form basket. 


4. Glue extra box bottom piece inside of basket for a finished look. 


5. Attach handle to basket with glue. You can glue the handle inside the basket or on the outside flaps like I did. 


6. Using the flower and leaf dies in the Garden Party set, die cut multiple flowers and leaves from pink and green cardsctock. Layer solid flowers and top flowers together and adhere to basket flaps and handle as shown.


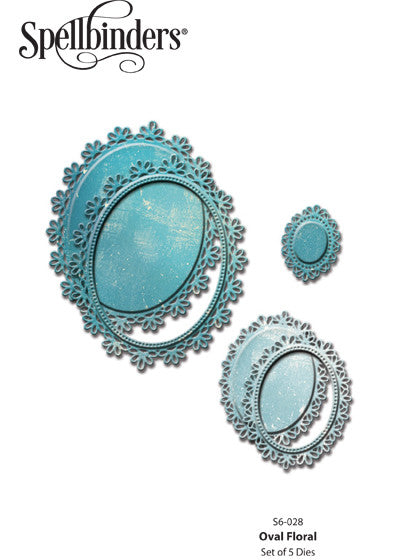
7. Stamp sentiment from Choose Joy Clear Stamps on pattern paper with brown ink. Die cut sentiment using smallest oval die from the Spellbinders Oval Floral die set. Attach to silk ribbon and then to basket handle as pictured below. 


Oval Floral Dies


8. Attach while pearls to center of  flowers and your basket is done! You can fill this basket with candy, chocolate or whatever you desire. 


Supplies used for Garden Party Basket:

JustRite Papercraft: Choose Joy Clear Stamps.
Spellbinders Dies: Garden PartyOval Floral.
Other Supplies: Maja Designs Papers - Vintage Spring Basics, Pink and Green Cardstock, Rangers Distress Ink - Brushed Corduroy, White Pearls, Silk Ribbon. 

-------------------------------------


Instructions for Card:

For my next project I created this 7" x 5 1/2" card using Choose Joy Clear Stamps for the sentiment stamped in black ink and A2 Garden View Background Stamp embossed with white embossing powder. 
The background layers were colored with Ken Oliver Color Burst in Green and Ultramarine Blue. These powder watercolor bottles are so much fun to work with. I distressed the edges and then colored with brown distress ink mini pad.
The corners were die cut with Spellbinders Draping Vines Elements from white cardstock and colored with distress ink. The flowers were die cut with Spellbinders Flower Play and colored with Color Burst. The tiny flowers were die cut with Spellbinders Draping Vines Frame.
For the bow I used pink silk ribbon.


Draping Vines Frame Dies


Supplies used for Card:

Other Supplies: Neenah Solar White Carstock, Watercolor Cardstock, Ken Oliver Color Burst, Versamark, White Embossing Powder, Ranger Distress Ink Mini Pads, Pink Silk Ribbon, Foam Squares.

Be sure to visit the links below for more inspiration from the design team. 
Thanks for visiting! Hugs!

Marisa


Tuesday, May 5, 2015

JustRite Papercraft May Release - Multi-Step Lilac Bouquet

Hello Friends,
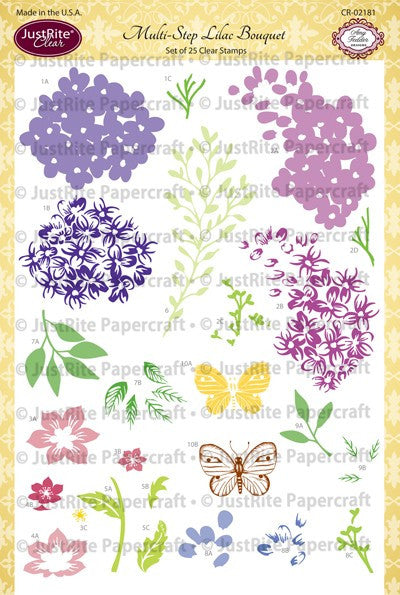
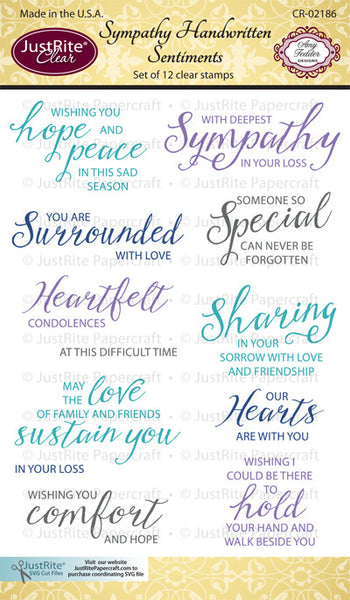
Welcome to Day One of the JustRite Papercraft May Release. Today I have 2 cards to share with you. My first card features the new Multi-Step Lilac Bouquet Clear Stamps set and my second card features Sympathy Handwritten Sentiments Clear Stamps set. I also used some of Spellbinders brand new dies.


   Multi-Step Lilac Bouquet Clear Stamps       Sympathy Handwritten Sentiments Clear Stamps


JustRite Papercraft is carrying all the new Spellbinders dies I used here and more. 


Instructions for my First Card:

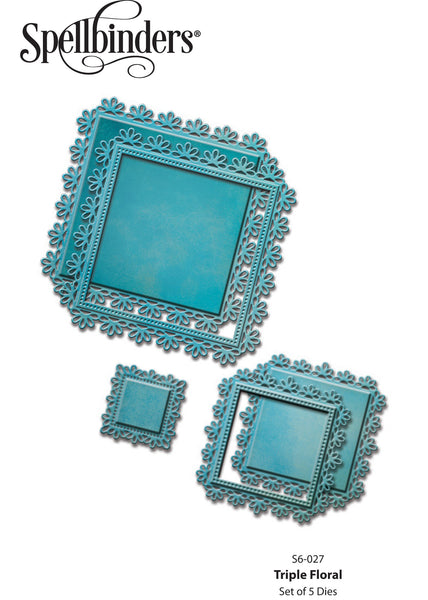
I created a 6" x 6" card base with white cardstock. I cut a smaller square with orange cardstock and adhered to card. The next layer was die cut with Spellbinders Triple Floral die set using purple cardstock and adhered to card base with foam squares. The green oval layer was die cut with Spellbinders Oval Floral die set. I used the largest dies from both sets.
I stamped the flowers from the Multi-Step Lilac Bouquet Clear Stamps set on white cardstock using chalk inks. I embellished the center of flowers with Pearl Pen and for the bow I used orange silk ribbon.


      Triple Floral Dies        Oval Floral Dies


Supplies:

JustRite Papercraft: Multi-Step Lilac Bouquet Clear Stamps
Spellbinders Dies: Triple FloralOval Floral.
Other Supplies: Neenah Papers in Solar White cardstock, BoBunny Double Dot Cardstock in Orange, Purple and Green, Color Box Chalk Ink Pads, Viva Pearl Pen in Cream, Foam Squares, Silk Ribbon.


Instructions for my Second Card:

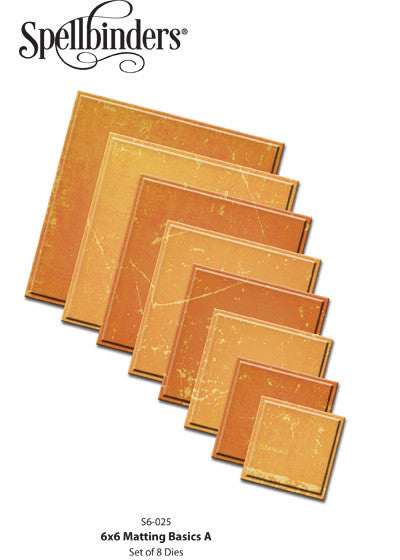
I created a 6" x 6" card base with white cardstock. The next 5 layers were die cut with designer paper using Spellbinders 6 x 6 Matting Basics A. I distressed the edges and adhered to card using tape.
For the small white frame I used the smallest die from Spellbinders Triple Floral set.
I stamped the sentiment from the Sympathy Handwritten Sentiments Clear Stamps onto a 1 3/8" square of designer paper, adhered to white frame and then onto card using foam squares.
The flowers and leaves were stamped on white cardstock with Spellbinders Flower Play Stamps using orange chalk ink and then die cut with coordinating Flower Play Dies. I colored them with distress inks, shaped and adhered to card with hot glue.
The small white leaves and swirls were die cut with Spellbinders Sprigs. For the bow I used peach silk ribbon.


       Flower Play Dies       6 x 6 Matting Basics A


Supplies:

JustRite Papercraft: Sympathy Handwritten Sentiments Clear Stamps
Spellbinders Dies: 6 x 6 Matting Basics AFlower Play StampsFlower Play Dies,  SprigsTriple Floral.
Other Supplies: Neenah Solar White Cardstock, Prima Marketing Firefly Paper Collection, Memento Tuxedo Black Ink Pad, Ranger Distress Ink Mini Pads, Silk Ribbon.


Be sure to visit the links below for more inspiration from the design team.


JustRite Inspiration

Becca Feeken

Debbie Olson

Darsie Bruno

Eva Dobilas

Marisa Job


Kristi Schurr

Kathy Jones

Sheri Holt

Heidi Blankenship

Michele Kovack


Thanks for visiting! Hugs!
Marisa